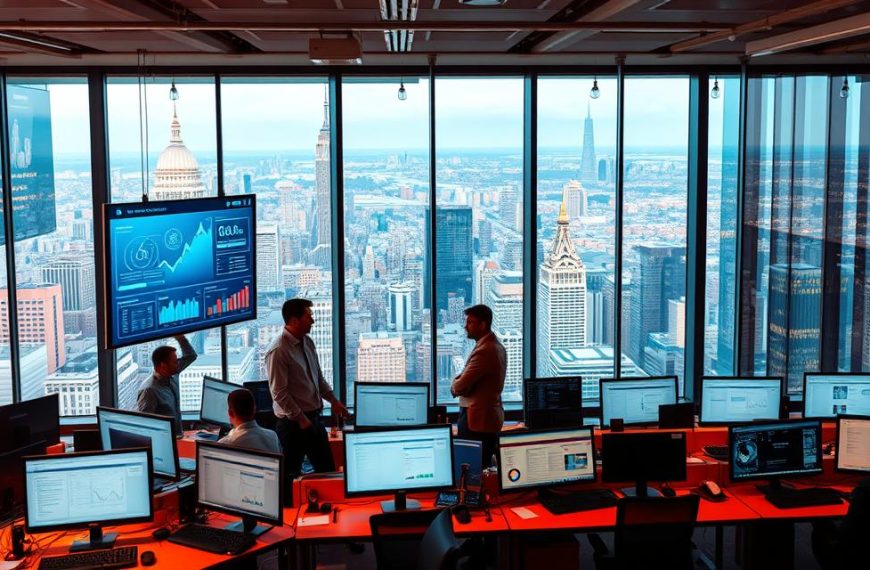
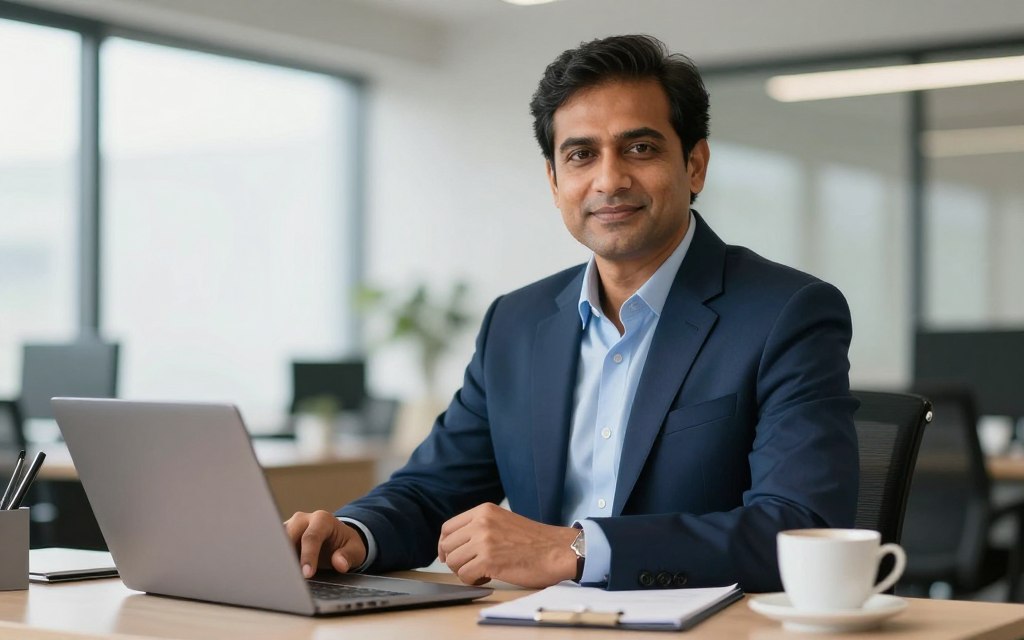
Your digital presence often forms a first impression. A polished, professional business portrait is key for profiles, websites, and marketing. It makes a big difference.
Going to a traditional studio can be a big hassle. You need to book a photographer, travel to the studio, and manage the session. It takes a lot of time and money.
In the US, a professional photoshoot costs about $250 for an hour. Another source says the average headshot fee is $232.50. For entrepreneurs and remote workers, this is a big expense.
Modern technology offers a great solution. An AI headshot generator gives you high-quality results without the high cost or long wait. You can get studio-quality photos without going to a studio.
The benefits are clear: big savings, convenience, and professional photos when you need them. It’s a smart way to improve your corporate image without spending a lot.
This guide will show you how to use these tools to create the perfect profile picture. It’s time to upgrade your look with a solution that fits your modern needs.
The Critical Role of a Professional Business Portrait
Getting a keynote speaking slot or a big client proposal can depend on how professional you look. In today’s world, where first meetings are online, your photo is like a digital handshake. It sets the mood before you even speak.
A top-notch business headshot builds trust and credibility right away. It shows you pay attention to details, are competent, and serious about your job. People make quick judgments based on what they see. A polished photo tells them you’re a real expert.
Your online presence relies heavily on this visual asset. Your LinkedIn profile picture gets millions of views. It’s on your company’s “About Us” page, speaker bios, and press releases. A consistent, professional image makes your personal brand stand out.
The real impact of a great photo is clear when we compare. The table below shows how different it can be.
| Aspect | With a Professional Business Headshot | With an Amateur or Casual Photo |
|---|---|---|
| First Impression | Shows you’re competent, reliable, and friendly. | May look like you’re not serious or put effort in. |
| Profile Engagement | More people are likely to view and connect with your profile. | People might skip over it. |
| Credibility in Proposals | Makes your proposal look stronger; you look the part. | There’s a gap between what you say and how you look. |
| Opportunity Conversion | Helps you get interviews, speeches, and clients. | Can hold you back from advancing. |
This isn’t just theory. Professionals say a new image can fix your professional branding overnight. When you need to act fast, having a ready, professional photo is key. Emily Ford’s story is a great example.
“HeadshotPro helped me finish a last minute keynote proposal… I was notified of an opportunity… and needed professional headshots in less than 48 hours.”
Her story shows a key point. A professional photo is not just for looks. It’s a non-negotiable asset in today’s digital world. It affects how you’re seen and what opportunities you get. Spending on a quality image is spending on your career.
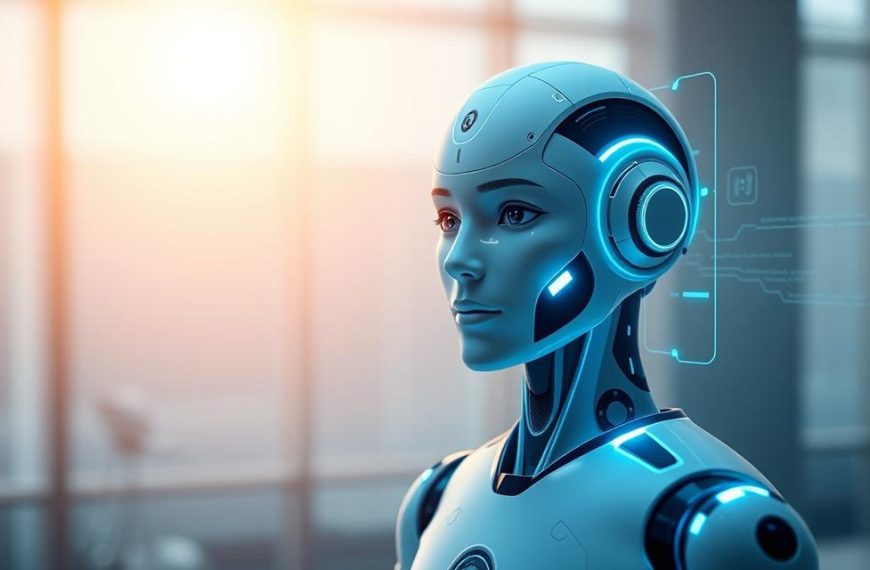
Demystifying AI Image Generation for Professional Use
AI image generation for professional portraits is not magic. It’s about advanced pattern recognition. These systems learn from millions of photos, understanding facial features, lighting, and more. For professional use, this means creating high-quality headshots.
The process starts with analysis. The AI looks at your photos and finds your best features. It sees your bone structure, eye shape, and smile. As one provider says,
“Our AI will pull your most photogenic qualities from the photos you uploaded.”
This step is key. It helps the AI know what makes you unique before creating a new portrait.
Then, the AI starts to create a new portrait. It uses what it learned and your features to make a new image. It adds ideal lighting and refines details for a polished look. This is the “reimagining” part.
The goal, as developers say, is to start a new era in photography. With AI, you can reimagine yourself for any event. This is great for creating a consistent professional brand image.
This makes the final image clear. It’s not random or just a filter. It’s a carefully made image for specific looks and standards. This is why AI image generator tools are so useful for entrepreneurs and remote workers.
For business, the reliability of AI is important. It makes images that look professional, with the right clothes and a confident look. These images are perfect for LinkedIn, company websites, and marketing. Knowing how AI image generation works helps you use these tools better for your career or business.
Preparation: Defining Your Brand and Choosing Your Tools
Skipping the planning stage is a big mistake when using free AI tools for a professional image. This stage is key for success. You need to define your personal brand and pick the right tools to showcase it.
Articulating Your Professional Persona and Desired Aesthetic
Your business photo is like a handshake. Before you start, think about the impression you want to make. Is your brand aesthetic formal and serious, creative and new, or friendly and reliable?
Write down three words that describe the image you want to project. This will guide all your decisions, from your virtual clothes to your smile.
Think about these common styles:
- Corporate: Sharp, polished, and confident. Think classic suits, studio lighting, and a direct gaze.
- Creative: Expressive, dynamic, and original. This might involve unique angles, textured backgrounds, and a more relaxed style.
- Approachable: Warm, friendly, and open. A genuine smile, softer lighting, and casual business attire often work best.
Curating a Mood Board for Inspiration
With your persona clear, move to concrete visuals. A mood board is essential. Don’t just imagine; collect references.
Look at professional sites, photography portfolios, and fashion magazines. Save images that match your style. Look for patterns in your collection.
As one expert says,
“Visual consistency starts with a curated eye. A mood board turns vague ideas into a clear visual language an AI can understand.”
This board will guide your detailed prompts later.
An Overview of Leading Free AI Tools
With a clear vision, choose your software wisely. The market has many free platforms. Your choice depends on ease of use and customisation.
HeadshotMaster is a good example for a simple, all-in-one solution. It offers a free AI photo solution that makes the process easy.
It’s important to know the options. Free free AI tools offer good base generation. Premium services offer more customisation options. For example, paid services may have 300+ outfits and 200+ backdrops for detailed styling.
When choosing a tool, look at these key features in its free version:
- The quality and realism of its AI model.
- The control over poses and basic expressions.
- The number of outfit and background options.
- The user interface and how easy it is to learn.
Choosing a tool is not about the most features. It’s about finding the one that matches your brand aesthetic perfectly.
How to Create a Business Photo with AI Free: A Step-by-Step Guide
Let’s explore how to make your headshot, from typing your description to picking your favourite images. The process is simple: upload, let AI work, then download. The key part is the middle step, where your vision turns into a real image.

1. Crafting a Detailed and Effective Text Prompt
Your text prompt is the guide for the AI. It’s more than just “professional headshot.” Describe your subject, clothes, expression, setting, and lighting in one sentence.
Use your favourite photos or selfies for inspiration. Note what you like, like your smile or the colour of your shirt. Turn these into words for your prompt.
An effective prompt includes:
| Component | Description | Example Phrase |
|---|---|---|
| Subject & Attire | Profession, gender, age range, clothing. | “A confident businesswoman in her 30s wearing a navy blazer.” |
| Expression & Pose | Facial expression and body language. | “Warm, genuine smile, looking directly at the camera.” |
| Lighting & Environment | Quality of light and background type. | “Soft studio lighting with a clean, grey gradient background.” |
| Style & Detail | Desired aesthetic and specific features. | “Photorealistic, sharp focus, professional haircut.” |
Put all these parts together into a prompt: “Professional businesswoman in a navy blazer, warm genuine smile, soft studio lighting, clean grey background, photorealistic style.” The more specific you are, the better your generating outputs will match your vision.
2. Optimising AI Model and Configuration Settings
Once your prompt is set, adjust the tool’s settings. Free tools have different AI model settings. Knowing a few key options can greatly improve your results.
Most tools let you pick a model type. Choose one that’s good for photorealism or portraits. Then, tweak settings like resolution, guidance scale, sampling steps, and negative prompt.
- Resolution: Higher values (e.g., 1024×1024) mean more detail but might be slower or cost more.
- Guidance Scale: This controls how closely the AI follows your prompt. A medium value (7-10) is usually best.
- Sampling Steps: More steps can mean better quality, but it quickly gets less effective. 20-30 steps is often enough.
- Negative Prompt: This is powerful. State what you don’t want (e.g., “blurry, distorted hands, cartoonish”).
For a business photo, focus on high resolution and a moderate guidance scale. Free tiers might limit some settings. Use what you can to get the best results.
3. Generating, Reviewing, and Shortlisting Outputs
AI generation is a process. Don’t stop at one image. Use the batch function to make 4-8 variations at once. This lets the AI work its magic, which can take a few minutes to an hour.
When your batch is done, review each image carefully. Look for professional suitability, likeness to you (if using your photo), and technical quality. Check for odd artefacts, unnatural shadows, or strange proportions.
Choose your top 2-3 images. Ask yourself: Which one best shows my professional side? Which has the best lighting and detail? This choice leads to the final step: downloading your favourites for further editing.
By mastering these steps—writing the prompt, setting up the AI, and reviewing the generating outputs—you control the AI’s creativity. You’ll get a set of high-quality images ready for the next step of refinement.
Post-Processing: Editing and Refining Your AI-Generated Image
The raw output from an AI generator is just the beginning. Even with detailed prompts, the image might need a human touch. This stage is where you make the image compelling and professional.
You don’t need to spend a lot on software. Many free tools can handle background replacement and colour adjustments easily.
Removing and Replacing Backgrounds with AI Tools
A messy background can ruin a great headshot. AI generators might not always get the context right. So, background removal is a key edit.
Tools like Photoroom, Canva’s background remover, or Remove.bg can quickly isolate your subject. After cutting out the background, you can get creative.
Try different backgrounds for your headshot. Use a neutral office setting for LinkedIn, a soft gradient for emails, or a branded colour for your website.
This approach helps keep your headshot looking good on all platforms. It’s easy with modern AI photo generation platforms.
Choosing the right background is key. It ensures your image looks professional and consistent. This is a big advantage of digital editing.
Colour Grading and Basic Retouching for a Natural Look
Once the background is sorted, focus on the subject. Colour grading adjusts colours to create a mood and look professional.
Start with basic adjustments:
- Exposure & Contrast: Make sure the image is bright but not too bright, with clear shadows.
- White Balance: Fix any colour casts to make skin tones look natural.
- Vibrance & Saturation: Enhance colours to make the image stand out without being too bright.
Then, do some light retouching. Aim to enhance, not change. Use tools to fix blemishes or soften shadows under the eyes.
Free apps offer more editing tools. But be careful not to overdo it. Too much editing can make the image look fake.
Good colour grading and subtle retouching create a natural, flattering look. This builds trust and shows your best side.
Achieving Photorealistic Cohesion and Polish
To get a result that looks like you ‘on a really good day,’ you need to do more than basic edits. This final stage is about removing AI clues, making your portrait look real and professional. The aim is to make it seem like “it is not so apparent that it is AI at first glance.”
Harmonising Lighting and Shadow Consistency
Uneven lighting can ruin a composite. AI might use one light for the subject, but the background suggests another. First, carefully check both parts.
Find the main light source in your background. Note its direction, strength, and colour. Then, look at your subject. Do their highlights and shadows match? You might need to adjust them using dodge and burn tools to fit the background’s light.
True photorealism depends on a single, consistent light story. Focus on shadow softness and how light fades. A bright studio light won’t mix well with a soft outdoor scene. Use adjustment layers for brightness, contrast, and colour to achieve lighting consistency.
Final Detailing: Teeth, Eyes, and Fabric Texture
After fixing lighting, zoom in. AI can find it hard to get small details right. Teeth that are too bright can look fake. Softening their shine can make them look more natural.
The eyes are key. Make sure they’re sharp and have a believable catchlight. This small detail brings life and depth. Dull or wrong eyes can make a portrait seem empty.
Check the texture of fabrics. Suits, blouses, or knitwear should feel real. AI might make them look too smooth or painted. Add a texture overlay or use a brush with a noise filter to give them a realistic look. This adds to the photorealism of your portrait.
These small changes to teeth, eyes, and texture build trust. They make the viewer think they’re looking at a real photo, not a generated image.
Selecting the Ultimate Image for Your Professional Brand
AI tools give you many options, but you must choose the best one for your brand. This choice is important, not random. Your chosen portrait will show your values, skills, and friendliness online.
AI services offer many choices. For example, HeadshotPro gives you 10 headshots for each prompt. This means you have more than one option to find the perfect image.
To pick the best, use a clear framework. Look at each image against four key points for a great professional brand photo.
First, check if the image fits your brand persona. It should match your industry’s tone and your personal qualities. For example, a tech founder might want to look innovative and friendly, while a lawyer should appear authoritative and trustworthy.
Next, look at authenticity and relatability. The image should feel real. It should look like you or a believable version of you. Avoid images that seem too perfect or generic.
Then, check the technical quality. Look for sharp focus, good lighting, and no AI errors. The editing should have fixed major issues, but the final image must be perfect.
Lastly, think about versatility. Will the image work for different uses, like LinkedIn and your website? The best image can be used in many places.
The table below helps you choose the right image:
| Selection Criteria | Key Questions to Ask | High-Priority Use Case |
|---|---|---|
| Brand Alignment | Does my expression, attire, and setting match my industry’s norms and my desired personal brand? | Company Website, Professional Bio |
| Authenticity | Does this look like a believable, trustworthy professional? Would my colleagues recognise my essence in this photo? | LinkedIn, Email Signature |
| Technical Quality | Is the lighting even? Are the eyes in sharp focus? Are there any strange blurring or texture issues? | All uses, specially print materials |
| Versatility | Does it crop well to square and circle formats? Does it look good in both colour and grayscale? | Cross-platform social media |
Don’t make this choice alone. Your own views might be biased. Get honest feedback from trusted colleagues or mentors. Show them your top images and ask which one they think best represents you.
Ask specific questions like “Which image shows more confidence?” or “Is this background right for our field?” Their opinions are very helpful in making your final choice.
Trust your instincts. The right image for your professional brand will feel real and inspiring. It should be a photo you’re proud to show, knowing it makes a great first impression every time.
Optimising and Deploying Your Business Photo Across Channels
Now that your AI-generated business portrait is ready, it’s time to share it online. A good photo looks bad if it’s blurry, cut off, or doesn’t match your brand. We’ll show you how to make it look perfect and how to use it everywhere.
Formatting for LinkedIn, Email Signatures, and Company Websites
Every online platform has its own rules. Use the right size, format, and file size to make your photo look sharp everywhere.

For your LinkedIn profile picture, choose a high-resolution square image. LinkedIn shows it in a circle, so make sure your face is in the middle. Many AI tools offer a LinkedIn Preview to see how it looks before you download it.
Email signatures are very visible. Modern tools can make your new headshot fit into a professional email signature with just a few clicks. This makes your emails look sleek and consistent.
Company website bios let you use larger images. This is your chance to show a high-resolution version that looks great when zoomed in.
The following table shows the key specs for major professional channels:
| Platform / Use Case | Recommended Dimensions | Best File Format | Key Considerations |
|---|---|---|---|
| LinkedIn Profile Picture | 400 x 400 pixels (minimum) | JPEG or PNG | Face should occupy ~60% of the frame. Use a simple, professional background. Preview the circular crop. |
| Professional Email Signature | 100 x 150 pixels (approx.) | PNG (for transparency) | Keep file size small for fast email loading. A transparent background often integrates best with email client designs. |
| Company Website ‘About’ Page | 800 x 1000 pixels (variable) | High-quality JPEG | Match the aspect ratio of your site’s design. Ensure compression doesn’t introduce artefacts. |
| Social Media (Twitter, Instagram Business) | Varies (e.g., 400 x 400) | JPEG | Maintain the same or a very similar photo for instant recognition. Adjust cropping if needed. |
Maintaining Visual Consistency in Your Digital Ecosystem
Brand consistency is key, not just for logos and colours. Your professional portrait is a vital part of your brand. Using the same images across all platforms builds trust and recognition.
Imagine seeing your face on LinkedIn, then on your company website, and later in an email. If the photo looks the same, it shows you’re reliable and professional. But if it’s different, it can confuse people.
To keep things consistent, have a folder for your professional photos. Save different sizes and crops for each platform. Use the same style and colour for all images. This way, whether you’re on a conference page or in an email, you look polished and professional.
This careful approach turns one great photo into a powerful tool for building your reputation online.
Navigating Ethical and Practical Considerations
Before you decide on your AI-generated portrait, take a moment to think about its wider impact. This technology needs to be used wisely, blending innovation with integrity. It’s important to understand its limits.
Transparency, Authenticity, and Copyright Implications
The ethics of AI-generated business photos are about being honest. You can create a perfect version of yourself, but it should look like you. Being true to yourself builds trust with others.
An image that’s too perfect can be a problem. As one reviewer said,
“Looking 30 years younger was nice to see, but it would be misleading.”
This shows the importance of a portrait that shows who you are now, not a dream version.
Fortunately, copyright implications are clear with good AI tools. Many services let you use your images for business. You own the image and can use it on your website and social media.
Top platforms also care about your privacy. They say they won’t use your photos without asking. This keeps your image and ideas safe.
Limitations and Knowing When to Hire a Professional Photographer
AI is amazing, but it’s not perfect for everything. It can struggle to capture a very specific look if you don’t have enough photos. It also can’t handle complex group shots or scenes.
That’s when a real photographer is best. They have an artistic eye, can make groups look natural, and control the lighting perfectly.
Choosing between AI and a photographer depends on what you need. Here’s a comparison to help you decide.
| Factor | AI Tool (e.g., Aragon) | Professional Photographer |
|---|---|---|
| Location & Convenience | Do it from home: Yes | Do it from home: No (Studio/On-location) |
| Time Investment | As quick as 30 minutes | 2–3 work days (incl. shoot & editing) |
| Cost Predictability | Typically free or low, fixed cost | Higher, variable investment |
| Creative & Artistic Direction | You control via prompts; can be iterative | Expert guidance and vision provided |
| Technical Complexity | Handled by the AI; requires prompt skill | Managed by the photographer (lighting, lenses, etc.) |
If you need a specific, complex scene or a polished look, a professional is better. For a quick, affordable headshot, AI is a good choice.
Deciding to hire a professional photographer shows you’re thinking about your brand. It’s not about failing with technology. Choose what’s best for your professional image.
Conclusion
Creating a professional business photo is now easy to do on your own. This guide showed you how to start, refine, and use your photo wisely. It’s all about making your image look great with today’s tech.
Free AI tools are a great way to get a professional photo without spending a lot. They save you money and time, and you don’t have to feel awkward in a studio. Your AI photo is a key part of your personal brand.
Getting a good photo takes skill and thought. Make sure you’re clear about who owns your photo and follow copyright rules. For some jobs, it’s better to hire a photographer.
You have all you need to create your visual identity. Use your new AI photo on your digital platforms. Start today and see how it helps you build trust and open new opportunities.
FAQ
Can I really get a professional business headshot for free using AI?
Yes, you can. Tools like HeadshotMaster offer free tiers or trials. They let you create professional portraits without the high cost of traditional photoshoots. While premium services offer more customisation, free tools are a great starting point for entrepreneurs and remote workers.
How does an AI headshot generator actually work?
AI headshot tools use machine learning. You upload your photos, and the AI learns your facial features and photogenic qualities. It then creates new, photorealistic images of you in the style you describe.
What is the most important step for getting a good result from a free AI tool?
The most important step is writing a detailed text prompt. Vague prompts lead to generic results. Describe your desired look, attire, expression, and setting clearly.
What should I do if the AI-generated image looks slightly unnatural or has odd details?
Minor flaws are common and can be fixed later. Use free tools like Canva to adjust the image. Focus on lighting and details to achieve a natural look.
Who owns the copyright to an AI-generated business portrait I create?
Copyright rules vary by platform. Check the terms of service. Reputable services like HeadshotPro grant users a commercial licence. It’s important to confirm you can use your AI headshot for professional branding.
Are there situations where I should hire a human photographer instead of using AI?
Yes. AI is great for standard headshots, but a human photographer is better for complex needs. They’re best for specific expressions, group photos, unique locations, or bespoke artistic direction.
How can I ensure my AI business photo looks authentic and represents the real me?
A> Focus on authenticity. Create a mood board that reflects your style. Choose an image that looks like you on a good day. Get feedback from colleagues to ensure it feels professional and true to you.
What are the technical specifications for using my new headshot on platforms like LinkedIn?
For the best display, format your image correctly. LinkedIn prefers a square aspect ratio and a minimum resolution of 400×400 pixels. Use a standard file format and keep the file size under 8MB. Many AI services offer tools to help deploy your headshot across your digital ecosystem.

 By
By